 how-to
Steps for Repairing Deep Car Paint Scratches at Home
Last Updated: October 31, 2026
Quick Summary
The steps for repairing deep car paint scratches start with a depth test: wash the area, then use a fingernail, light, color, and water test to see whether the damage stays in the clear coat, reaches primer, or exposes bare metal. Match that depth to the right path, from polishing a clear-coat scuff to priming, painting, and clear-coating a deeper scratch.
- A fingernail that catches on the scratch means the damage has physical depth.
- Bare metal showing gray or silver inside a scratch needs prompt attention to prevent rust.
- Use 1000-grit wet sandpaper to smooth the scratch edges, not to remove the whole scratch.
- Apply primer in two or three thin coats, then base coat, then two or three coats of clear.
- Find your paint code on the driver's door jamb sticker or the VIN sticker before ordering color.
Table of Contents
- How to Tell How Deep a Car Scratch Goes
- Deep Scratch Repair Tools and Materials You Will Need
- Step-by-Step Deep Scratch Repair Process
- How to Apply Touch-Up Paint to a Car
- Car Scratch Repair Cost, Time, and Durability Compared
- When to Bring Your Car to a Body Shop Instead
- Booking Your Paint Repair Consultation at Rubio's Custom Repair
- Frequently Asked Questions
How to Tell How Deep a Car Scratch Goes
Before you start on any of the steps for repairing deep car paint scratches, you need to know how deep the scratch really is. The repair method that works on a clear-coat scuff will ruin a panel if you use it on a scratch that has cut through to bare metal. For a more detailed walkthrough, see safe removal of deep paint scratches.
Run the depth test in this order
- Wash and dry the area first. Dirt and wax hide the true edges of a scratch and can make a shallow scuff look deeper than it is. Use a microfiber cloth and a mild soap solution, then dry completely.
- The fingernail test. Drag your fingernail lightly across the scratch at a right angle. If your nail glides over it, the damage is likely in the clear coat only. If your nail catches, the scratch has physical depth and has probably reached the base coat or primer.
- The light test. Shine a bright flashlight across the panel at a low angle. A faint, thin line that disappears at some angles usually means clear-coat damage. A line that stays visible and has a distinct edge is deeper.
- The color test. Look straight into the scratch under good light. Clear or whitish residue usually means you are seeing primer. Gray or silver means bare metal. Seeing the same color as the surrounding paint but duller usually means the scratch is in the clear coat.
- The water test. Wet the area and look again. If the scratch turns darker or seems to disappear when wet, it is likely confined to the clear coat. If it stays visible or looks chalky when wet, it goes deeper.
Match the depth to the repair method
Use this decision tree to pick your path before you buy anything:
- Clear coat only (nail glides, faint line, disappears when wet): Do not sand. Use a polishing compound on a foam pad, then a finishing polish. This is typically a short job with no paint products.
- Base coat exposed but no primer or metal visible (nail catches, color looks dull but not white or gray): Light wet sanding with 1500- to 2000-grit paper to feather the edges, then touch-up base coat in thin layers, then clear coat, then polish. This is the classic DIY deep-scratch repair.
- Primer visible (white or chalky residue in the scratch): You need primer, base coat, and clear coat. Sand the scratch edges lightly, apply primer in thin coats, then color, then clear. Do not skip primer in the steps for repairing deep car paint scratches, color applied directly over primer-less substrate will not adhere properly. Learn whether you can paint over existing car paint before you begin.
How to tell if a scratch is through the clear coat
If your fingernail catches but you see no gray, silver, or white inside the scratch, the damage is likely limited to the clear coat and possibly a little of the base coat. That is still a DIY-friendly repair.
Many people assume every scratch needs a body shop. That is not always true. Shallow scratches are often a good DIY project.
Deep Scratch Repair Tools and Materials You Will Need
You do not need a full paint booth to fix a deep scratch, but you do need the right consumables in the right grits and the right order. A small kit from an auto parts store is enough for many jobs. Gather everything before you start so you are not stopping halfway through a coat.
The complete checklist
Cleaning and surface prep
- Mild car-wash soap and two buckets (one for soap, one for rinse)
- Microfiber cloths (at least three, one for washing, one for drying, one for polish removal)
- Isopropyl alcohol or a prep spray to remove wax and oils before painting
Sanding
- Wet sandpaper in a grit progression: 600, 1000, 1500, and 2000
- A firm sanding block or a dense foam pad for even pressure
- A spray bottle of clean water for wet sanding
Primer, color, and clear
- Automotive primer (rattle can or touch-up pen), a direct-to-metal primer if bare metal is exposed
- Matching base coat color (find your paint code on the driver's door jamb sticker or the VIN sticker)
- Clear coat in a spray can
Finishing
- Rubbing compound (for leveling the repair)
- Polishing compound or finishing polish
- Foam applicator pads and a clean microfiber for buffing
Grit progression and when to stop
The single most common DIY mistake is jumping straight to a coarse grit. Work in this order and stop as soon as the surface feels smooth:
- 600-grit only if you need to feather a hard edge or level a touch-up blob. Use light pressure and keep the paper wet.
- 1000-grit to smooth the feathered area and blend the repair into the surrounding clear coat.
- 1500-grit to refine the surface before compounding.
- 2000-grit as the final sanding step before polish.
Budget tiers
- Minimum viable kit (under $50): soap, microfiber cloths, 1000- and 2000-grit wet paper, masking tape, a matching touch-up pen, and a polishing compound. This handles clear-coat scuffs and small base-coat scratches.
Pricing varies by brand, quantity, and where you buy, so check current prices at your local auto parts store or online. The paint code is the key item. Use a color matching guide to make sure the shade you order is exactly right.
Tip: Buy a little more clear coat than you think you need. Thin layers work best, and running short mid-job is frustrating.
Step-by-Step Deep Scratch Repair Process
Work in a shaded spot, on a day when the car is cool and the air is dry. Direct sun and humidity can cause the paint to dry too fast or bubble.
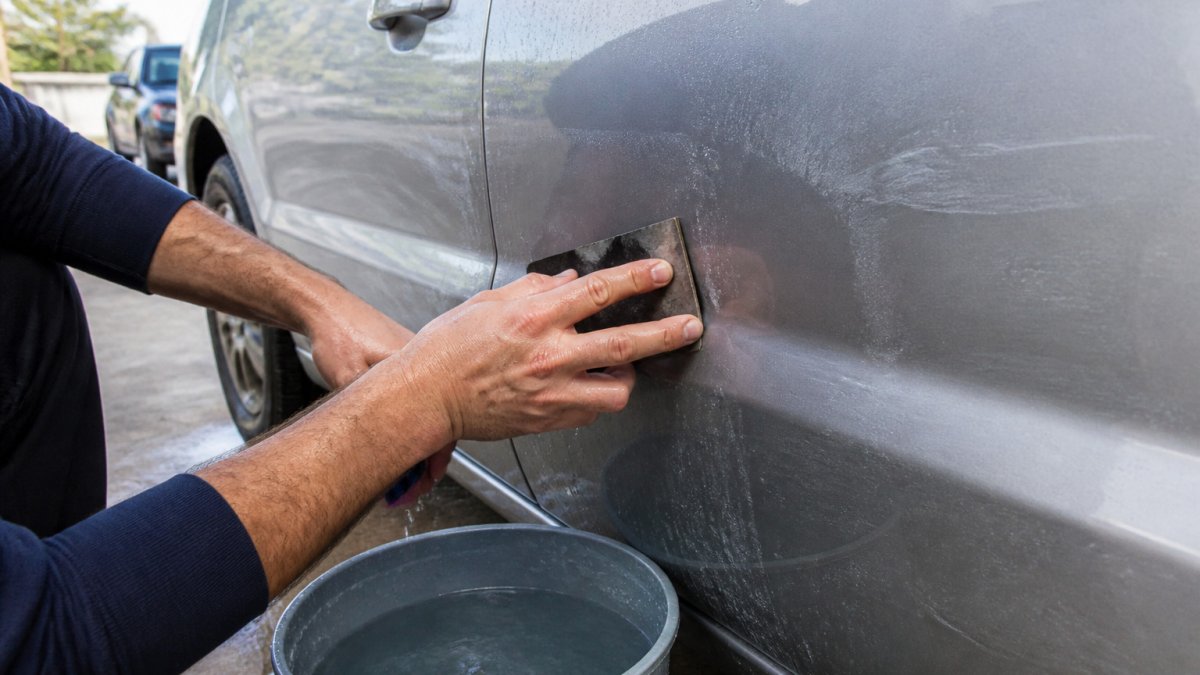
Cleaning, Masking, and Sanding the Damaged Area
Start by washing and drying the area thoroughly. Dirt and wax left behind will ruin the new finish.
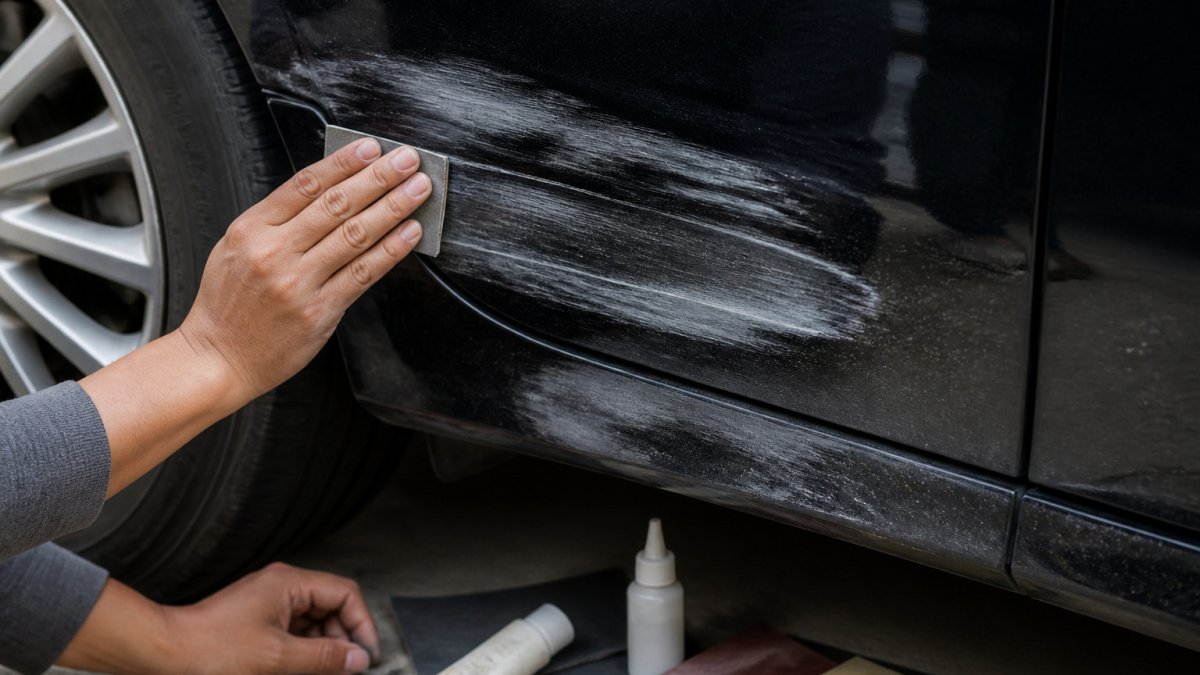
Once the area is clean, sand the edges of the scratch with 1000-grit wet sandpaper. Keep the paper wet and use light, even pressure.
Watch out: Sanding through the paint into bare metal on purpose is a mistake. Use light pressure and check your progress often.
Building Up Primer, Color, and Clear Coat
Apply primer in two or three thin coats, letting each one dry before the next. Primer protects the bare metal and gives the color something to stick to. Once the primer is dry and smooth, apply the base coat color in thin layers. Build the color up slowly until it matches the surrounding paint.
Finish with two or three coats of clear coat. Let the final coat cure for the time listed on the can, which is often several hours to a full day. Once it has cured, wet sand lightly with 2000-grit paper and polish the area to blend it in.
How to Apply Touch-Up Paint to a Car
Touch-up paint is useful for small chips and thin scratches. For deep scratches, you will usually need the full layering process above, but touch-up paint still plays a role at the final stage.
Shake the pen or bottle well. For a practical guide, see how to fix paint chips on car with touch-up paint and primer.
Your paint code is essential here. Two shades with the same name can look different because paint fades over years of sun exposure.
Car Scratch Repair Cost, Time, and Durability Compared
Time matters too. A DIY repair can take a full weekend once you account for drying and curing time between coats.
Durability is where the two approaches differ most. A well-done DIY repair can last for years, but it is harder to make invisible, especially on metallic or pearl paint.
Costs and timelines vary widely. Check local prices and ask for written estimates before committing to any job.
The article compares the cost, time and durability of DIY and professional scratch repair, though it gives no specific figures for each.
| Factor | DIY repair | Professional repair |
|---|---|---|
| Cost | Materials bought once | Labor plus materials |
| Time | Often a full weekend | Faster, but needs scheduling |
| Durability | Can last for years | Usually more seamless finish |
| Color match | Harder on metallic or pearl | Blended to match |
When to Bring Your Car to a Body Shop Instead
Some scratches are beyond a home repair. Call a professional if:
- The scratch goes through to metal over a large area
- The paint is peeling, bubbling, or lifting around the scratch
- The damage includes dents, cracks, or deep gouges
A professional collision and paint shop is equipped to handle repairs of this kind.
Booking Your Paint Repair Consultation at Rubio's Custom Repair
If your scratch is deep, large, or spread across a panel, a consultation can help you decide your next step. Rubio's Custom Repair inc is a family-owned auto body shop in Manteca, California, with over 30 years of experience in collision repair and paint.
Their repairs are backed by a guarantee on the work and the paint products.
To get started, schedule an appointment with Rubio's Custom Repair inc and have your scratch assessed in person.
Frequently Asked Questions
How can you tell if a car scratch is deep?
Run a fingernail across the scratch. If the nail catches, the scratch likely goes past the clear coat into the base coat or deeper. A scratch that shows gray, white, or bare metal at the bottom has reached the primer or metal and needs primer and paint, not just polishing. Light scratches that disappear when wet are usually limited to the clear coat and can often be buffed out. Checking in good light from several angles helps confirm the depth before you buy materials.
Can you repair a deep car paint scratch at home?
Many deep scratches can be repaired at home if the damage is limited to a small area and you are patient with each layer. The process involves cleaning, masking, light sanding, applying primer if bare metal is exposed, building up thin coats of color, and finishing with clear coat. Results depend on matching the paint code and on your skill with sanding and spraying. Large, deep, or multi-panel damage is usually better handled by a professional body shop.
How long does it take to repair a deep car scratch?
A small deep scratch can often be prepared and painted in one afternoon, but each coat of primer, color, and clear needs drying time before the next layer. Most manufacturers and paint suppliers recommend waiting at least several hours between coats, and the paint should cure fully before waxing or washing. Plan for a full weekend if you want the repair to harden properly. Times vary with temperature, humidity, and the product you use, so follow the label directions for your specific paint.
When should you take a deep car scratch to a body shop?
Take the car to a body shop if the scratch covers a large area, crosses panel edges, shows dents or cracked paint, or involves structural or sensor-equipped parts. A shop is also a better choice if you cannot match the color or want a seamless blend across the panel. Rubio's Custom Repair inc uses PPG paint products and original parts where available. For current pricing or a quote, contact the shop directly, since costs depend on the damage and the vehicle.