 how-to
Can You Paint Over Existing Car Paint? A How-To Guide
Table of Contents
- Can You Paint Over Existing Car Paint? The Short Answer
- Assessing Surface Condition: A Decision Tree for Existing Car Paint
- Do You Need to Sand a Car Before Repainting?
- Painting Over Car Clearcoat: Scuffing, Grits, and Compatibility
- Car Paint Preparation Steps: The Complete Ordered Workflow
- How Many Times Can You Repaint a Car?
- Testing Unknown Paint and Handling Safety
- Frequently Asked Questions
Last Updated: October 18, 2026
Can You Paint Over Existing Car Paint? The Short Answer
Yes, you can paint over existing car paint, provided the old finish is sound, clean, and properly scuffed.
Here is the rule we follow after more than 30 years of refinishing work: the new coat is only as good as what sits under it.
Below, we walk through a condition-based decision process, the sanding grits that matter, and the full prep order.
Assessing Surface Condition: A Decision Tree for Existing Car Paint
Start by judging the existing car paint before you buy a single can. Run your hand over the panel. Look at it under bright light from a low angle. Then answer three questions.
- Is the paint bonded? Press tape onto a small area and pull it off. If paint comes with it, the finish is loose.
- Is there rust or bubbling? Bubbles mean corrosion under the paint. That section needs repair, not a topcoat.
- Is the clear coat intact? Chalky, flaking, or cloudy clear coat means the top layer has failed.
When Old Paint Is Stable Enough to Repaint
Stable paint is firmly bonded, free of rust, and smooth to the touch. It may be faded or scratched, but it does not lift, crack, or peel. Factory paint in good shape is usually the best base you can get. A previous paint job can also work if it was applied correctly and has held up.
When Peeling, Loose, or Damaged Paint Must Come Off
Loose paint, peeling edges, rust, and deep damage must be removed first. Painting over peeling paint traps moisture and guarantees failure. In practice, this means sanding or stripping back to bare metal or a solid edge. Then you repair, prime, and block the surface flat.
Do You Need to Sand a Car Before Repainting?
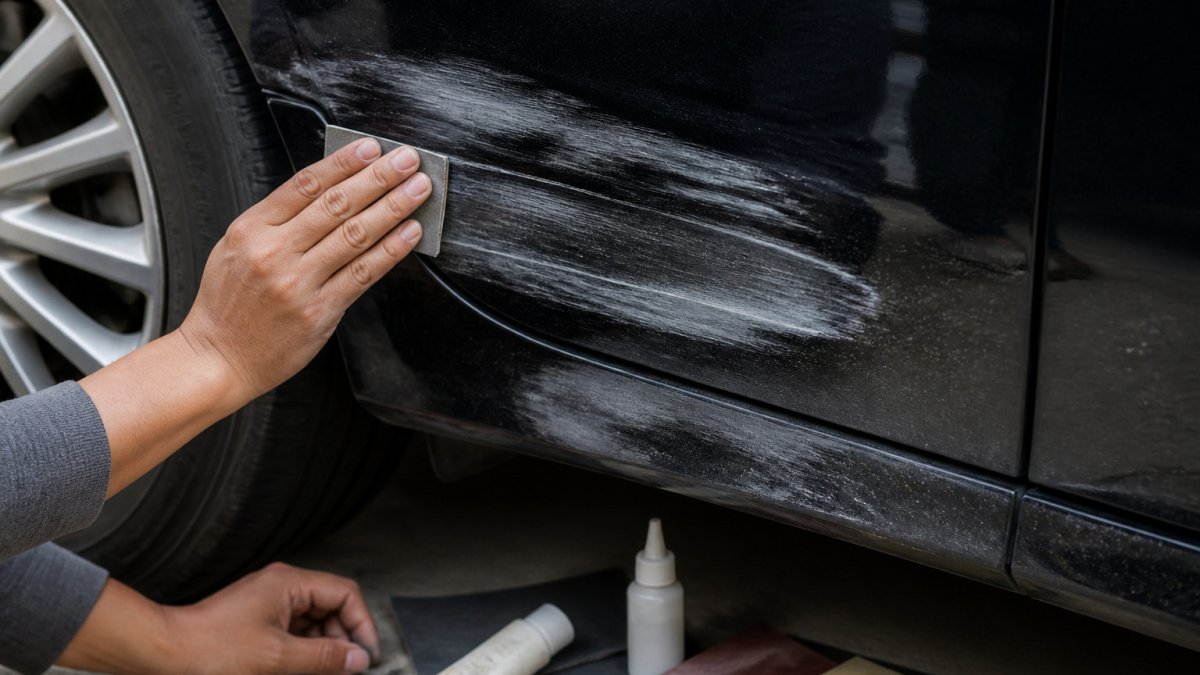
Yes, you need to sand a car before repainting, at least a light scuff. New paint needs a mechanical grip to bond to the old surface.
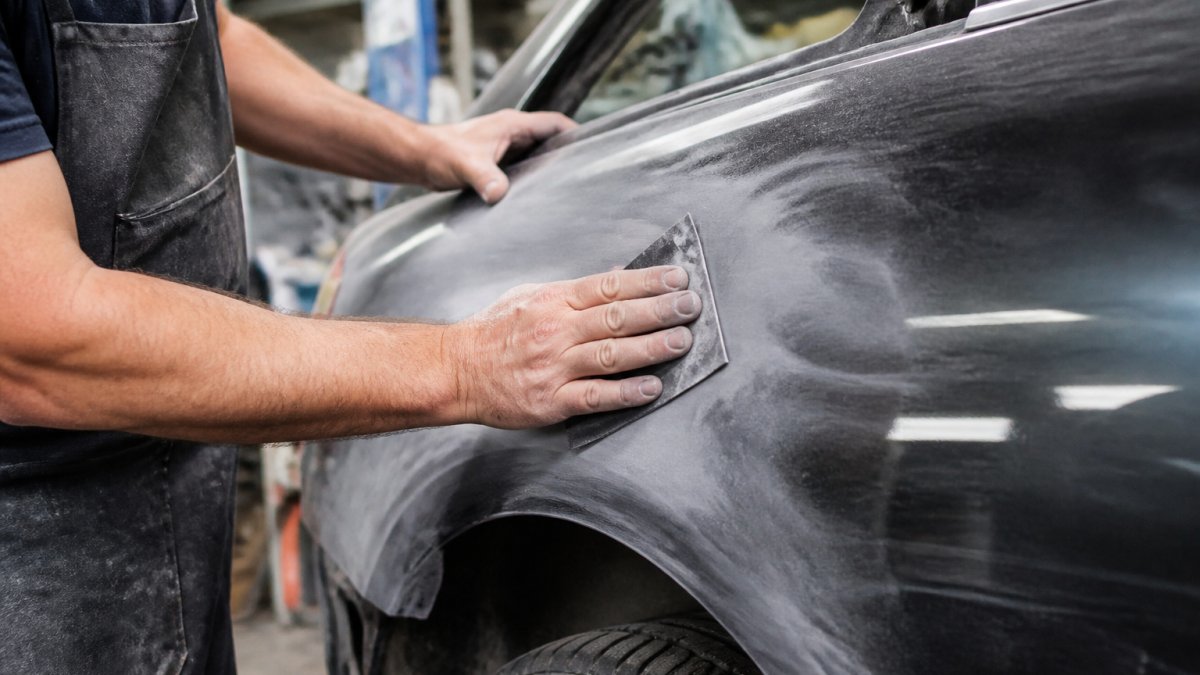
You do not always need to sand to bare metal. For a sound factory finish, a scuff is enough. For failing paint, you sand deeper and remove the bad material.
Painting Over Car Clearcoat: Scuffing, Grits, and Compatibility
Scuffing the clear coat is the step that makes or breaks adhesion. Use the right grit and you get a surface that holds.
Here is how we break down grits for painting over car clearcoat:
| Stage | Grit | Purpose |
|---|---|---|
| Strip failing paint | 80-120 | Remove loose material and rust |
| Shape body filler | 120-180 | Level repairs |
| Scuff sound clear coat | 320-400 | Create adhesion grip |
| Final pre-paint scuff | 600-800 | Refine surface before sealer |
Two compatibility rules matter here. First, know what type of paint is on the car. Factory finishes are usually cured and stable. An unknown previous paint job may react badly to a new solvent. Second, test before you commit.
Car Paint Preparation Steps: The Complete Ordered Workflow
Most DIY paint failures trace back to a skipped or reordered step, not bad paint. The sequence below is the one to follow from a dirty panel to a cured topcoat.
- Wash and degrease. Start with a pH-neutral car wash, then wipe the panel with a wax-and-grease remover on a clean microfiber. Change towels often; a dirty towel just moves contamination around. Pay attention to panel gaps, emblems, and the area behind the wheel arches, where tar and silicone dressings collect.
- Assess and strip failing areas. Use the tape-pull and rust checks from the decision tree. Feather the edges of any peeling or chipped area with 180-grit until the transition to sound paint is smooth to the touch. Loose material left under a new coat will lift it.
- Repair rust, dents, and deep scratches. Grind rust back to clean, shiny metal, treat the pit, then fill with body filler and shape it while it is still workable. Dents get pulled or filled and blocked flat. Deep scratches that reach primer or metal need feather-edging so the repair blends into the surrounding panel.
- Sand and scuff. Match grit to condition: 80-120 to strip failing paint, 120-180 to shape filler, 320-400 to scuff sound clear coat, and 600-800 for the final pre-paint scuff. Keep the paper wet or use a DA with a soft interface pad, and sand in a crosshatch pattern so you can see when the surface is uniform.
- Clean again. Blow out seams and gaps with compressed air, then wipe with prep wipe or wax-and-grease remover. This is the step most DIYers rush, and it is the one that causes fisheyes and poor adhesion.
- Mask. Use automotive masking tape and paper, not newspaper. Press tape edges down firmly, cover glass and trim, and bag the wheels. Masking is cheap; overspray cleanup is not.
- Apply primer or sealer. Primer over bare metal and body filler; sealer over an unknown or suspect previous paint job or when you need a uniform base. Follow the product data sheet for reducer, tip size, and flash times rather than guessing.
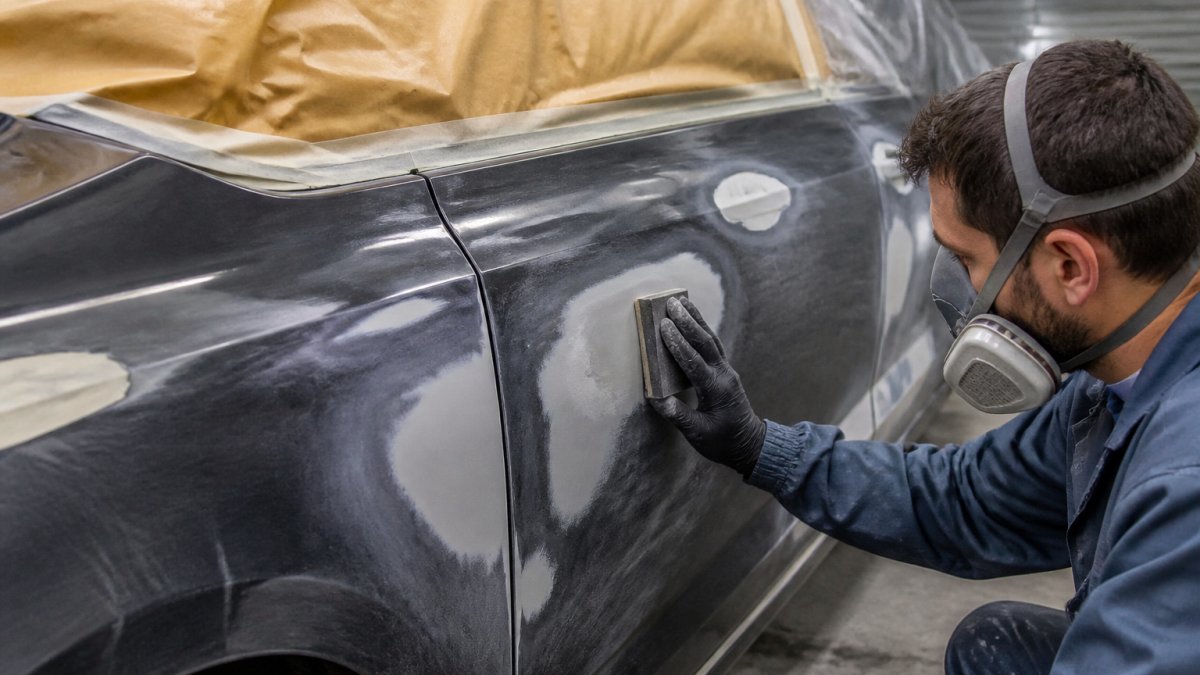
- Block sand the primer. Use 400-600 grit on a firm block to level the primer and reveal any low spots. Guide coat (a light dusting of contrasting color) makes the low spots visible. Re-prime and re-block if you cut through.
- Wipe down and tack off. Wipe with prep wipe, then tack-cloth the panel immediately before topcoat. Do not touch the surface with bare hands after this step; skin oils cause adhesion problems.
- Spray base coat, then clear coat. Apply base in thin, overlapping passes per the product data sheet, then clear within the recommended window. Respect flash and cure times; rushing the clear over wet base causes solvent pop and runs.
Dust removal between steps is not optional. A single speck of grit under the clear coat means a redo. Keep a dedicated tack cloth and a clean prep-wipe towel for each stage, and change your respirator filters on schedule.
Repairing Rust, Dents, and Deep Scratches Before Paint
Rust must be cut out or ground back to clean metal. Treat the area, then fill and shape with body filler. Dents get pulled or filled and blocked flat. Deep scratches that reach the primer or metal need feather-edging so the repair blends into the surrounding panel. Paint over unrepaired damage and it telegraphs through the new finish.
Primer vs. Sealer: Which One Your Surface Needs
Primer builds and fills. Sealer locks the surface and blocks solvent transfer. Use primer over bare metal and body filler. Use sealer over an unknown or suspect previous paint job, or when you need a uniform base before color. On a sound factory finish with a matching color, you can sometimes skip both and go straight to base coat.
How Many Times Can You Repaint a Car?
There is no fixed limit, but each repaint adds film thickness. Too many layers and the paint can crack, chip, or lose flexibility. In practice, a car can usually be repainted several times over its life if each job is prepped correctly. The real limit is surface condition, not a hard number. If the existing car paint is thick, cracked, or failing, stripping back to a solid base is smarter than stacking another coat.
Testing Unknown Paint and Handling Safety
An unknown or non-factory paint job is the biggest wildcard in any repaint. It may be a cured factory finish, a single-stage enamel, a lacquer, or a cheap aerosol job that will react with anything you put on it. Test before you trust it, and protect yourself while you do.
How to Run a Compatibility Test
Work on an inconspicuous spot such as a door jamb, the underside of the hood, or inside the trunk lip. The goal is to see how the old coating responds to the new product before you commit the whole vehicle.
- Clean the test area with wax-and-grease remover and let it flash off completely.
- Scuff a small patch with 600-grit and wipe it clean.
- Spray a light coat of the primer, sealer, or base coat you plan to use, following the product data sheet for reducer and tip size.
- Wait at least 30 minutes, longer in cool or humid conditions, and watch the patch.
- Check adhesion by pressing a piece of masking tape onto the cured patch and pulling it off firmly.
Warning signs of a solvent reaction include wrinkling, lifting, blistering, or a patch that stays soft or tacky past its recoat window. If any of those appear, the old paint and new product are not compatible.
A test patch that looks fine at 30 minutes can still lift hours later. Check it again the next day before you spray the whole panel. The cost of a second test patch is a few dollars; the cost of a failed full repaint is the entire job.
Safety and Environmental Handling
Automotive paints and solvents carry real health risks, and the rules that govern them are set by OSHA's hazard communication standard. Follow these basics:
- Wear a respirator rated for solvents, not a dust mask; change cartridges on the schedule the manufacturer specifies
- Work in a ventilated space or spray booth, and keep the air moving across the work area
- Wear nitrile gloves and eye protection, and cover exposed skin
Sanding dust is its own hazard. Use a vacuum-assisted sander or wet-sanding where possible, and wear a dust mask under your respirator when you dry-sand.
For guidance on safe handling and disposal, check the EPA's household hazardous waste guidance. Skipping protective equipment is the mistake that sends DIY painters to the hospital.
If the prep or repair work feels beyond a driveway job, that is the point to bring it in.
Frequently Asked Questions
Will paint stick to clearcoat?
New paint will stick to clearcoat only if the clearcoat is scuffed first. A factory clearcoat is glossy and slick, so fresh paint has nothing to grip. Sanding with 600 to 800 grit creates a mechanical bite across the panel. If the clearcoat is peeling or lifting at the edges, it has to come off before painting, because the new layer will fail along with the old one. A quick adhesion test on a hidden spot tells you whether the existing finish is stable enough to coat.
Can you paint over a car without sanding?
No, not if you want the finish to last. Paint needs a textured surface to bond to, and an unsanded panel is too smooth for adhesion. Skipping sanding is the most common reason DIY paint jobs peel within a year. You do not need to strip the car to bare metal, but every panel getting new paint needs scuffing with the right grit. Cleaning and degreasing come first, since sanding pushes oil and dirt into the scratches you just made.
Can you paint over peeling or damaged car paint?
Painting over peeling paint traps the failure underneath. The new layer looks fine for a few months, then lifts wherever the old paint lets go. Loose or flaking edges have to be feathered back to stable material, and any area down to bare metal needs primer before topcoat. If peeling covers a large panel, stripping that panel is faster and more reliable than chasing edges. Rust spots need treatment to bare metal too, since paint will not stop corrosion.
Do you need primer when painting over existing car paint?
Not always. Sound, well-adhered factory paint in good condition can take a sealer or a direct topcoat after scuffing and cleaning. Primer is needed where you sanded to bare metal, filled dents, or repaired scratches, because those areas need a foundation coat. Sealer goes over primer or over old paint to give a uniform base and block color bleed on a color change. The right choice depends on what is underneath, so check the surface before deciding.
Painting over existing car paint works when the base is sound, clean, and scuffed, and fails when it is not. The prep decides the outcome, not the paint can. If you want a finish that matches and lasts, let the team at Rubio's Custom Repair inc handle it. We bring over 30 years of experience, original parts for most repairs, and premium PPG products to every job, all backed by our guarantee. Schedule an appointment and get back on the road with a paint job you can trust.