 how-to
How to Remove Deep Paint Scratches Safely at Home
Last Updated: October 28, 2026
Quick Summary
To remove deep paint scratches safely at home, first identify the depth with a fingernail test and a wet-look check. Scratches confined to the clear coat can often be polished out, while deeper ones that have reached the color layer or primer need wet-sanding, primer, color-matched touch-up paint, and clear coat.
- Run your fingernail across the scratch; if it drops into a distinct groove, it has likely reached primer or deeper.
- Scratches that disappear when wet are usually limited to the clear coat.
- Use 1500 to 3000 grit wet/dry sandpaper, and only for deep scratches.
- Find your paint code on the driver's door jamb, under the hood, or in the trunk.
- Stop sanding or compounding after two or three light passes to avoid burning through the clear coat.
Table of Contents
- How to Tell if a Car Scratch Is Through the Clear Coat
- Step 1: Clean the Scratch First
- Step 2: Run the Fingernail Test
- Step 3: Use the Wet-Look and Light Test
- Step 4: Confirm With a Paint Thickness Gauge (Optional but Useful)
- When a Scratch Reaches Primer or Bare Metal
- The Decision Tree
- Clear Coat Thickness and the Risks of Aggressive Correction
- Test on an Inconspicuous Spot First
- Gathering a Car Scratch Repair Kit and Safety Gear
- Cleaning, Drying, and Preparing the Damaged Area
- Polishing and Compounding Light Scratches Without Overcorrecting
- Wet-Sanding, Priming, and Using Touch-Up Paint for Deep Car Scratches
- When to Get Professional Car Scratch Repair and Booking Your Next Step
- Frequently Asked Questions
How to Tell if a Car Scratch Is Through the Clear Coat
The fix depends on how far the damage goes, so identify the depth before choosing a repair method. Before you grab sandpaper or polish, determine whether the scratch sits in the clear coat or has cut through to the color layer, primer, or bare metal. For a step-by-step walkthrough of the touch-up and primer process, see how to fix paint chips on car panels.
Step 1: Clean the Scratch First
Dirt hides depth. Wash the panel with mild car soap and water, rinse, and dry with a clean microfiber cloth. Wipe the scratch with a lint-free cloth dampened with isopropyl alcohol to strip wax and oil.
Step 2: Run the Fingernail Test
Run your fingernail gently across the scratch at a right angle to its direction for a quick read on depth.
- Nail glides smoothly: The damage is likely limited to the clear coat. Polishing or compounding may remove it.
- Nail catches lightly in the groove: The scratch has likely reached the color coat. Polishing alone won't fix it, but a careful wet-sand and polish may improve it.
- Nail drops into a distinct groove: The scratch has likely reached primer or deeper. Plan on touch-up paint or professional repair.
BMW M's guidance on scratch repair supports this kind of check, noting that damage limited to the top paint layer can often be polished, while a fingernail that catches in the scratch signals deeper damage.
Step 3: Use the Wet-Look and Light Test
Spray the area with clean water or wipe it with a damp cloth. Water temporarily fills the scratch and changes how light reflects off it.
- Scratch disappears or nearly disappears when wet: The damage is shallow and likely confined to the clear coat.
- Scratch stays visible when wet: The damage is deeper than the clear coat and will need material added, not just leveled.
Then move the panel into direct light and view it at a low angle. A scratch that shows a distinct color different from the surrounding paint, such as a light line on a dark car, is usually through the color layer.
Step 4: Confirm With a Paint Thickness Gauge (Optional but Useful)
A paint thickness gauge can provide a reading of total film thickness. Treat it as a diagnostic aid, not a lab measurement.
When a Scratch Reaches Primer or Bare Metal
If you see a light gray, white, or silver line, the scratch has gone past the paint. Primer and bare metal cannot be polished back to a match.
The Decision Tree
Use this order before you touch an abrasive:
- Nail glides and scratch disappears when wet: polish or compound only.
- Nail catches lightly and scratch stays faintly visible when wet: wet-sand with 2500 to 3000 grit, then compound and polish.
- Nail drops in, or you see primer or metal: clean, sand lightly, prime, apply color-matched paint, and clear coat.
- Damage is wide, deep, or accompanied by a dent: stop and get a professional estimate.
Clear Coat Thickness and the Risks of Aggressive Correction
Clear coat is a thin, sacrificial layer. Sanding and compounding remove material, and there is no practical way to add factory clear coat back at home. Many experienced detailers treat any scratch requiring more than a light compound pass as a candidate for touch-up paint rather than repeated sanding. Stop if the surface turns dull and hazy, if the scratch widens, or after two or three light passes in the same spot.
Test on an Inconspicuous Spot First
Before committing to a method on a visible panel, test it on an out-of-sight area, such as the lower edge of a door or a wheel well lip. Apply the least aggressive method first, check the result under good light, and escalate only if the test area improves without dulling the finish.
Gathering a Car Scratch Repair Kit and Safety Gear
Basic car scratch repair kit:
- Mild car soap and water
- Two buckets and a clean wash mitt
- Lint-free microfiber cloths
Cleaning, Drying, and Preparing the Damaged Area
Clean the area thoroughly first; dirt and grit left on the surface can cause new scratches while you work.
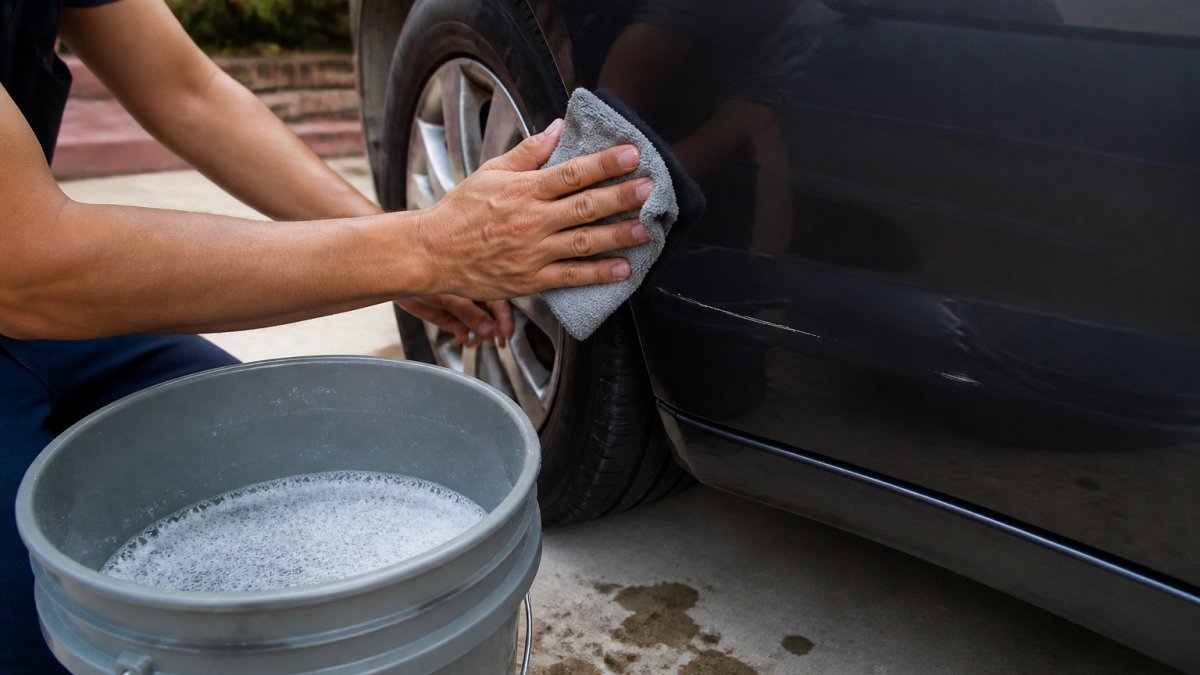
- Wash the panel with mild car soap and water.
- Rinse well and dry the area with a clean microfiber cloth.
- Wipe the scratch with a lint-free cloth dampened with isopropyl alcohol to remove wax and oil.
- Mask off the area around the scratch with masking tape to protect surrounding paint.
Work in a shaded spot with the panel cool to the touch; direct sun and hot surfaces make compounds dry too fast.
Polishing and Compounding Light Scratches Without Overcorrecting
For clear coat scratches, start with the least aggressive method.
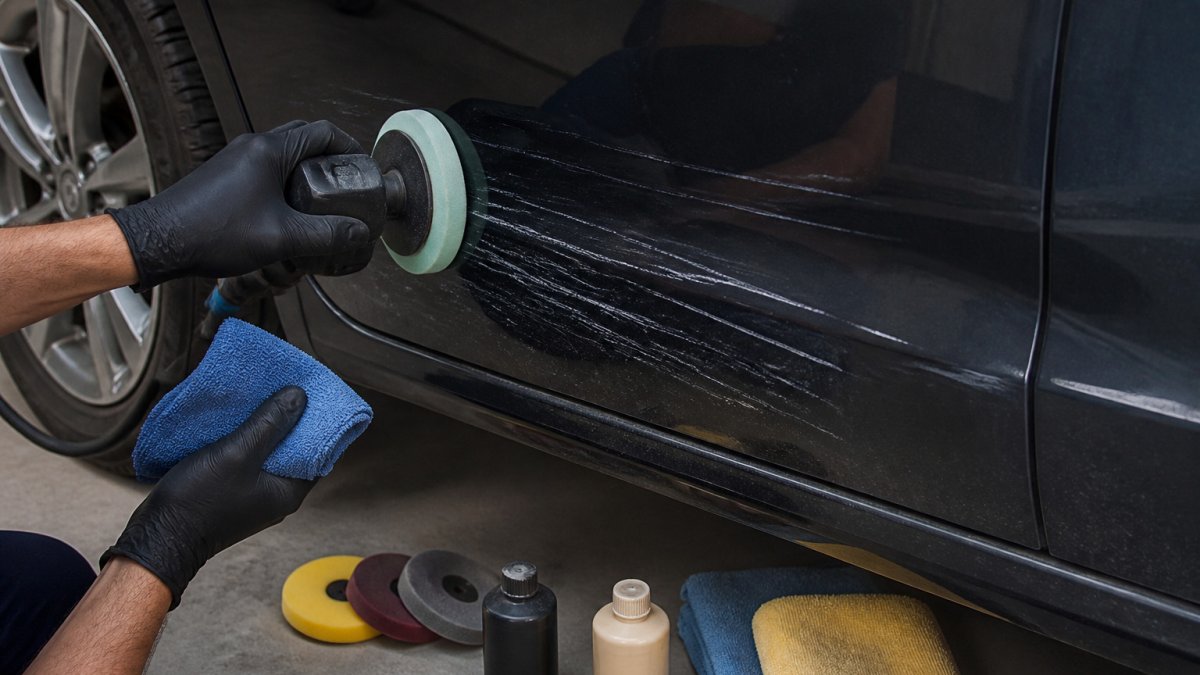
- Apply a small amount of rubbing compound to a foam pad.
- Work in a small section using light pressure and overlapping straight-line or circular motions.
- Wipe the residue away and check the scratch under good light.
Stop as soon as the scratch fades. If you'd rather have a professional handle polishing and compounding, see what a paint restoration service involves.
Heavy pressure or too many passes can burn through the clear coat and leave a dull, hazy patch that is hard to reverse.
Wet-Sanding, Priming, and Using Touch-Up Paint for Deep Car Scratches
If the scratch has reached the color layer or below, you'll need to rebuild the surface in steps. Rushing this stage is the most common reason DIY repairs look patchy.
Safety Gear and Ventilation
Paint and solvent products are flammable and can harm skin, eyes, and lungs. Before opening a container:
- Nitrile gloves: many paint and solvent products irritate skin and are absorbed through it.
- Safety glasses or goggles: keep compound, paint dust, and solvent splatter out of your eyes.
- Respirator rated for organic vapors: required when spraying or sanding primer and clear coat, not just a dust mask.
Follow the manufacturer's dry times and recoat windows; ignoring them is a common cause of wrinkling and poor adhesion.
Step 1: Identify Your Paint Code
Color match starts with the code, not the color name. The paint code is usually on a sticker or plate in one of these locations:
- The driver's side door jamb
- Under the hood, near the radiator support or strut tower
- In the trunk, under the spare tire cover or on the trunk lid
Codes are typically letters and numbers, sometimes with a color name. Write it down exactly. A paint supplier can mix a match from the code, and many auto parts stores sell factory-matched touch-up pens and aerosol cans by code.
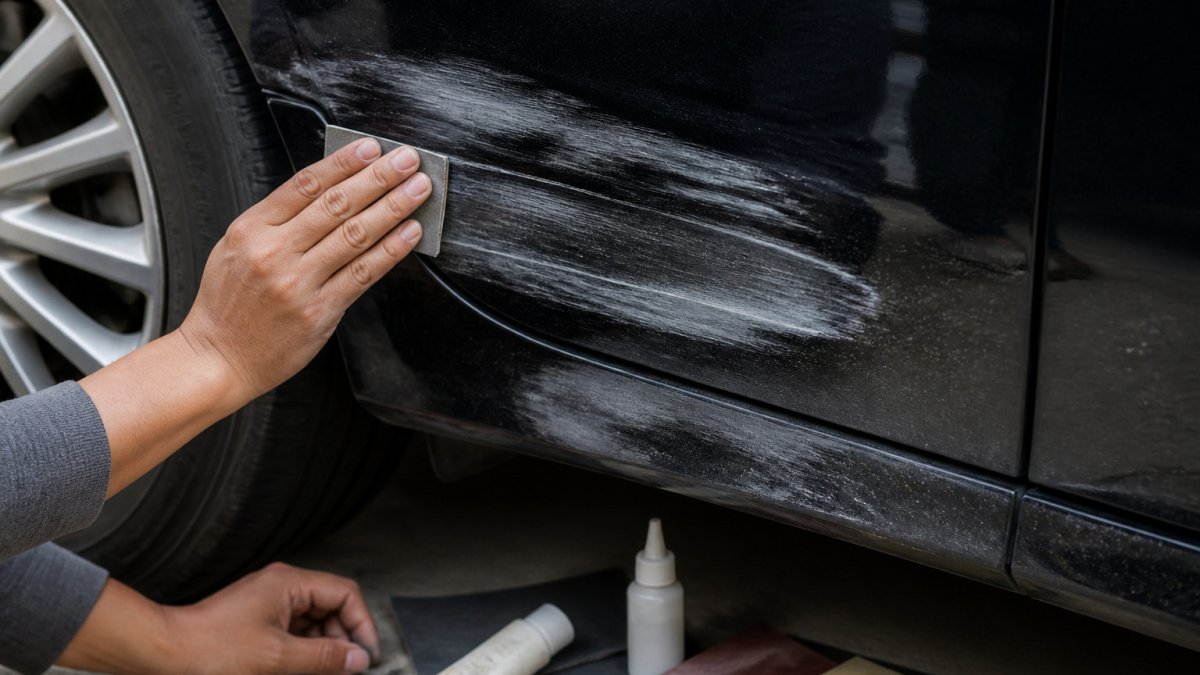
Step 2: Wet-Sand the Scratch
- Mask surrounding panels. Use masking tape and paper to protect adjacent paint and trim from sanding and overspray.
- Start with 1500 grit. Wet the paper and the surface. Use light pressure and sand along the direction of the scratch, not across it.
- Move to 2500 or 3000 grit. Refine the area to smooth the edges and blend the transition.
- Stop early. Stop as soon as the scratch edges feel smooth to the touch. Over-sanding removes surrounding clear coat and creates a visible low spot.
Keep the paper wet and rinse it often; dry sanding clogs the paper and generates harmful dust.
Step 3: Apply Primer
Use automotive primer on bare metal or exposed primer. Apply thin coats, let each dry per the label, and sand lightly between coats with 600 to 800 grit if the label allows. Primer is a base for color and must be covered.
Step 4: Apply Color-Matched Paint
Use touch-up paint matched to your paint code to cover deep paint scratches that have reached the color layer. Thin coats work better than one thick layer. Apply with a fine brush, touch-up pen, or small foam applicator, building two to four thin coats and letting each dry. Keep paint within the masked area and avoid flooding the surrounding clear coat.
Step 5: Apply Clear Coat
Seal the color with clear coat, building up thin layers until the repair sits slightly above the surrounding paint. A slight rise is easier to level than a depression. Let the clear coat cure per the label before any sanding or polishing.
Step 6: Level and Polish
After the clear coat has cured, wet-sand lightly with 2500 to 3000 grit to level the repair, then polish with a fine polishing compound to restore gloss. Work in small sections and check under good light. Stop if the repair starts to look hazy or if you sand through the clear coat.
Environmental Conditions and Curing
Paint products are sensitive to temperature and humidity. Most labels specify a working range, commonly around 60 to 80 degrees Fahrenheit and moderate humidity. Avoid direct sun, high humidity, or a hot surface. Many clear coats need several days before washing and longer before waxing; follow the label.
Realistic Outcomes, Time, and Cost
A code-matched touch-up pen or small aerosol can is inexpensive, while a full primer, color, and clear coat kit costs more. A professional repair involves labor, paint mixing, and blending across panels.
The article lays out the main choices for a deep scratch, and the table below sums up what each one is for.
| Method | Best for | Key difference |
|---|---|---|
| Rubbing compound | Clear coat scratches | Removes more material than polish |
| Polishing compound | Restoring gloss after compounding | Finer, lighter cut |
| Wet-sand 1500 to 3000 grit | Scratches reaching the color layer | Levels the edges before repainting |
| Automotive primer | Bare metal or exposed primer | Thin coats, sanded lightly between coats |
| Color-matched touch-up paint | Scratches reaching the color layer | Two to four thin coats, matched by paint code |
| Clear coat | Sealing the repaired color | Build layers slightly above surrounding paint |
When to Get Professional Car Scratch Repair and Booking Your Next Step
It's a poor fit when the damage is wide, when you see bare metal across a large area, or when the panel has dents or structural damage. Before deciding, check whether your policy applies by reading whether car insurance covers paint scratches.
Rubio's Custom Repair inc is a family-owned auto body shop in Manteca, California, with over 30 years of experience in collision repair and paint. If your scratch has gone deeper than you can safely handle, book vehicle body repair.
Frequently Asked Questions
How can you tell if a car scratch is too deep to polish out?
Run your fingernail across the scratch. If it catches, the damage has likely gone past the clear coat into the color or primer layer, and polishing alone will not fix it. Scratches that catch a nail but do not show metal or grey primer can sometimes be improved with touch-up paint and careful sanding. If you see bare metal or a grey or white layer at the bottom of the scratch, polishing will not restore the finish, and wet-sanding and priming are needed. Because sanding removes material that cannot be restored, check the depth carefully before you start, and stop if you are unsure.
Can deep scratches in car paint be removed at home?
Some can. Scratches confined to the clear coat often respond well to a rubbing compound and a polish applied by hand or with a dual-action polisher. Deeper scratches that reach the color coat or primer can sometimes be improved at home with touch-up paint, but full removal usually requires wet-sanding, priming, and color-matched paint. Work slowly, use a light touch, and avoid sanding through the clear coat on large panels, since it is difficult to repair cleanly once the protective layer is gone.
When should you take a scratched car to a body shop?
Our team at Rubio's Custom Repair inc provides collision repair and paint services, and you can contact us for a quote.
Will touch-up paint make a deep scratch less noticeable?
Touch-up paint can reduce the visibility of a deep scratch, especially on a small chip or narrow line, but it rarely makes the repair invisible. Results depend on how closely the paint matches the existing finish, how well the area is cleaned and primed, and how carefully the paint is applied in thin layers. Allow each layer to dry fully before adding the next, and finish with a clear coat if your product allows it. For a seamless result on a visible panel, a professional color-matched repair is usually the better choice.