 how-to
How to Fix Paint Chips on Car: DIY Steps That Last
Table of Contents
- How to Fix Paint Chips on Car: A Step-by-Step Approach
- Assess the Chip: Size, Depth, and Location
- Clean and Prep the Repair Area
- How to Match Car Paint Color Using Your Paint Code
- What to Look for in a Car Paint Chip Repair Kit
- Apply Touch-Up Paint in Thin Layers
- How Long Does Touch-Up Paint Take to Dry?
- Car Paint Chip Repair Cost: DIY vs Professional
- Frequently Asked Questions
Last Updated: October 6, 2026
How to Fix Paint Chips on Car: A Step-by-Step Approach
Learning how to fix paint chips on car panels starts with one honest question: is this a job for your driveway or a job for a shop? Small chips on the hood or doors are a weekend project.
Here's the good news: most shallow chips respond well to a careful, patient repair. The key is prep, color match, and thin layers.
When DIY Makes Sense and When It Doesn't
DIY makes sense for small, shallow chips that haven't reached the metal. It doesn't make sense when rust has started, when the chip sits on a crease or body line, or when you're dealing with more than a handful of chips.
Use this quick guide:
| Situation | Best Path |
|---|---|
| Small chip, paint only, one or two spots | DIY touch-up |
| Chip down to bare metal | DIY with primer, or a shop if rust is present |
| Chip on a body line or crease | Professional repair |
| Multiple chips across a panel | Professional repair |
| Any sign of rust | Professional repair |
A common mistake is treating every chip the same. They aren't. Depth and location change everything.
Assess the Chip: Size, Depth, and Location
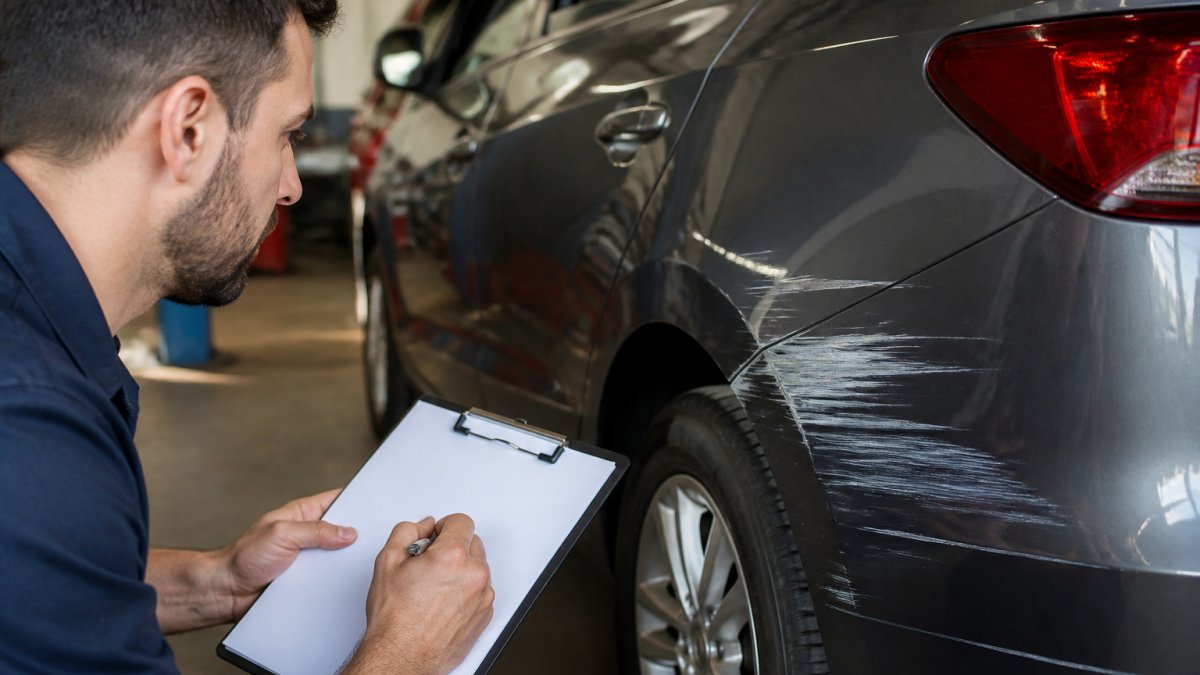
Assessing the chip takes two minutes and saves you hours. Run your fingernail across the chip. If your nail catches, it's deep enough to need primer.
Check three things:
- Size: A pencil-tip chip is easy. A coin-sized chip needs more paint and more patience.
- Depth: Paint-only chips are shallow. Chips showing gray metal or white primer are deeper.
- Location: Flat panels are forgiving. Curves, edges, and body lines are not.
Take a photo with your phone in good light. It helps you track the repair and spot chips you missed.
Clean and Prep the Repair Area
Prep decides whether your touch-up paint sticks. Skip it and the paint peels within months.
Follow these steps:
- Wash the area with car-safe soap and water.
- Dry it with a clean microfiber towel.
- Wipe the chip with isopropyl alcohol to remove wax and oils.
- Let it dry completely before you touch the paint.
Do not use dish soap. It strips wax but leaves a film that weakens paint adhesion.
How to Match Car Paint Color Using Your Paint Code
Matching car paint color starts with your paint code, not the color name. Two vehicles can share the same "silver" or "white" name and use completely different formulas, so ordering by name is how mismatches happen.
Where to Find Your Paint Code
The code lives on a manufacturer data sticker, and most vehicles have more than one copy. Check these spots in order:
- Driver's side door jamb, the most common location on most vehicles.
- Glove box lid or inner glove box wall, common on many domestic and Asian-brand models.
- Firewall or strut tower under the hood, common on trucks and older models.
The code is usually a short mix of letters and numbers, sometimes paired with a two- or three-digit number. Write down every character exactly, including any prefix or suffix.
Watch for Paint Code Variants
This is the step most DIY guides skip, and it's the one that causes the most visible mismatches. A single model year often ships with multiple variants of the same color, the same name, the same general hue, but a different formula.
If your sticker shows more than one code, or a code plus a variant suffix, give the paint supplier the full string. If you're unsure which variant applies, that's a signal to test before you commit.
Test Before You Commit
Never assume a match from the bottle cap or a screen swatch. Do this instead:
- Clean a small, inconspicuous spot, inside a door jamb, under the trunk lid, or on the underside of the hood.
- Apply a thin dab of the touch-up paint and let it cure fully.
- Compare it in daylight, not garage light, and view it from a few angles.
- If it reads too light, too dark, or too metallic, you likely have the wrong variant.
A mismatch caught on a hidden panel costs you nothing. A mismatch caught on the hood costs you a repaint.
Why Older and Faded Paint Won't Match Perfectly
Even a correct code won't match a panel that's spent years in the sun. Ultraviolet exposure fades and shifts the original finish, so fresh factory-matched paint can look slightly brighter or more saturated than the surrounding panel.
A common pattern is a repair that looks perfect in shade and slightly off in direct sun. That's normal, and it's one of the honest limits of DIY touch-up.
Automotive paint and refinishing guidance from the Specialty Equipment Market Association
What to Look for in a Car Paint Chip Repair Kit
A good car paint chip repair kit gives you control. Skip kits that only include a fat brush; they flood the chip with too much paint.
Look for these items:
- Touch-up paint matched to your paint code
- A clear coat pen or bottle
- Primer for bare metal
You don't need every item for every chip. But a kit with micro brushes and fine sandpaper handles most jobs.
Automotive paint and refinishing guidance from the Specialty Equipment Market Association
Apply Touch-Up Paint in Thin Layers
Thin layers are the whole game. One thick coat looks lumpy and traps solvent, which causes cracking later.
Here's the process:
- Shake the touch-up paint for at least a minute.
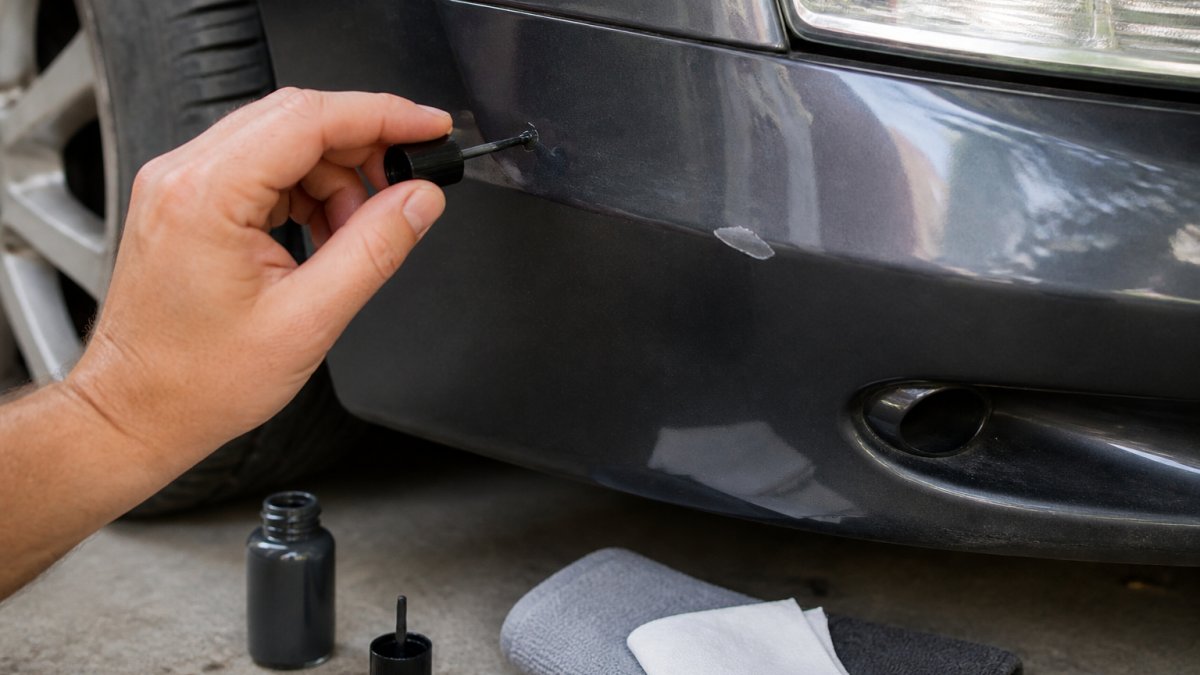
- Dab paint into the chip with a micro brush or toothpick.
- Let it dry, then add another thin layer.
- Build up until the paint sits just level with the surrounding paint.
- Let it cure fully before sanding or polishing.
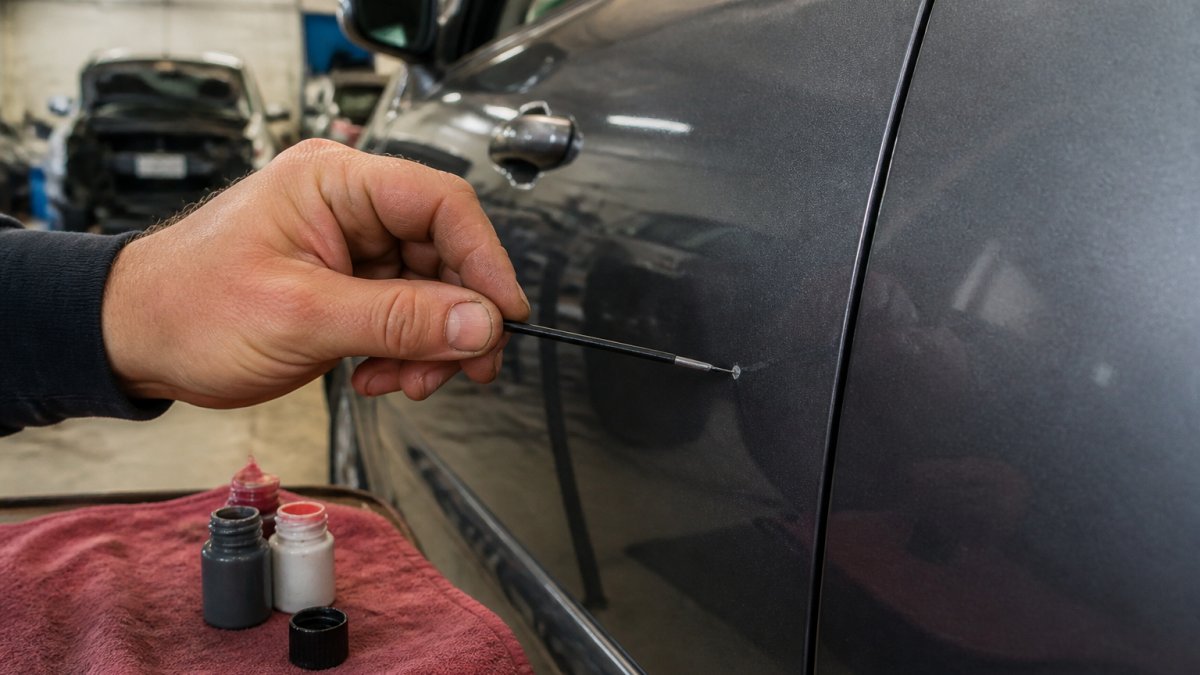
Don't try to fill the chip in one pass. Three or four thin layers beat one heavy coat every time.
Primer and Bare Metal: What You Need to Know
Bare metal needs primer before paint. Primer bonds to the metal and gives the topcoat something to grip.
Apply primer in a thin layer first, let it dry, then add color. If the chip is tiny, a primer pen works fine.
Rust prevention matters here. Bare metal starts oxidizing fast, so don't leave a chip exposed for weeks. Seal it with primer and paint as soon as you can.
How Long Does Touch-Up Paint Take to Dry?
Touch-up paint dries to the touch in about 30 minutes, but it isn't cured. Full curing takes days, and sometimes longer in cool or humid weather. The difference between "dry" and "cured" is the difference between a repair that lasts and one that lifts at the first car wash.
Plan around this general timeline:
- Touch dry: about 30 minutes
- Ready for the next thin layer: often 30 minutes to a few hours, depending on conditions
- Handle with care: 24 hours
Temperature and Humidity Change Everything
Paint cures by solvent evaporation and a chemical cross-linking reaction, and both are sensitive to the environment. Here's how conditions shift the timeline:
- Warm and dry (roughly 70-80°F, low humidity): fastest cure. Layers can often be recoated within the shorter end of the window.
- Cool (below about 60°F): cure slows noticeably. Solvent lingers, layers stay soft, and you may need to extend recoat times well beyond the standard window.
- High humidity: slows solvent release and can leave a hazy or blushed finish. Avoid applying in damp conditions if you can.
The practical rule: work in shade, aim for moderate temperatures, and give each layer more time than you think it needs when conditions aren't ideal.
Respect the Recoat Window
Every touch-up paint has a recoat window, the period when the next layer will bond chemically to the previous one. Apply too soon and you'll drag the soft layer underneath. Wait too long past the window and the surface may need light scuffing before the next coat will adhere.
When in doubt, test the previous layer with a light touch on a hidden spot. If it feels tacky or smears, it isn't ready.
Don't Rush the Cure
This is where most DIY repairs fail. The paint looks and feels dry, so the owner washes the car or drives through a car wash, and the pressure lifts the fresh repair.
During the cure window:
- Skip the car wash and avoid pressure washing near the repair.
- Avoid waxing or polishing the repaired area until it's fully cured.
- Park in a warm, dry spot for the first day if you can.
- Keep the area clean and dry, and resist the urge to touch it.
If you must drive in rain before the repair cures, that's usually fine, the concern is pressure and soap, not incidental water. Just don't scrub or spray it directly.
Car Paint Chip Repair Cost: DIY vs Professional
Car paint chip repair cost depends on how you do it. A DIY kit costs far less than a shop visit. A professional repair costs more but delivers a finish you can't match at home.
Here's the honest trade-off:
| Factor | DIY | Professional |
|---|---|---|
| Upfront cost | Low | Higher |
| Time | Your weekend | A day or two |
| Color match | Good with the right code | Exact |
| Finish quality | Visible up close | Blends into the panel |
| Best for | Small, shallow chips | Deep chips, rust, multiple spots |
For pricing on a professional repair, contact Rubio's Custom Repair inc directly.
DIY works for small, shallow chips on flat panels. For rust, deep chips, or anything on a body line, a professional repair saves you from a bigger problem later.
Frequently Asked Questions
Can paint chips on a car be repaired at home?
Yes, most small paint chips can be repaired at home with a touch-up paint kit, a clean microfiber towel, and isopropyl alcohol for prep. Clean the area, match your paint code, and apply thin layers until the chip is level with the surrounding paint. Chips that expose bare metal or cover a large area are better handled by a professional to prevent rust.
How much does chipped paint on a car cost to fix?
Car paint chip repair cost varies widely depending on the number of chips, their depth, and whether bare metal is exposed. A DIY kit is the lowest-cost option, while professional repair pricing depends on the damage and your vehicle. For an accurate quote on your specific chips, contact a local body shop directly.
How long does car touch-up paint take to dry?
Touch-up paint typically feels dry to the touch within 30 to 60 minutes, but it needs 24 to 48 hours to cure fully. Avoid washing or waxing the repair area during that window. Cold or humid weather extends drying time, so park in a warm, dry spot when possible.
When should a paint chip be repaired by a professional?
See a professional when the chip is larger than a coin, exposes bare metal, sits on a curved or hard-to-reach panel, or when rust has already started. Multiple chips across several panels also justify professional repair, since blending and clear coat work require equipment most owners don't have.
Not every chip is worth a trip to the shop, and not every chip is safe to ignore. If you're unsure which one you're looking at, that's exactly when a second opinion pays off. At Rubio's Custom Repair inc, we use original parts and premium PPG products, back every repair with our guarantee, and offer 50% off your deductible for a limited time. Schedule an appointment and we'll get you back on the road fast.