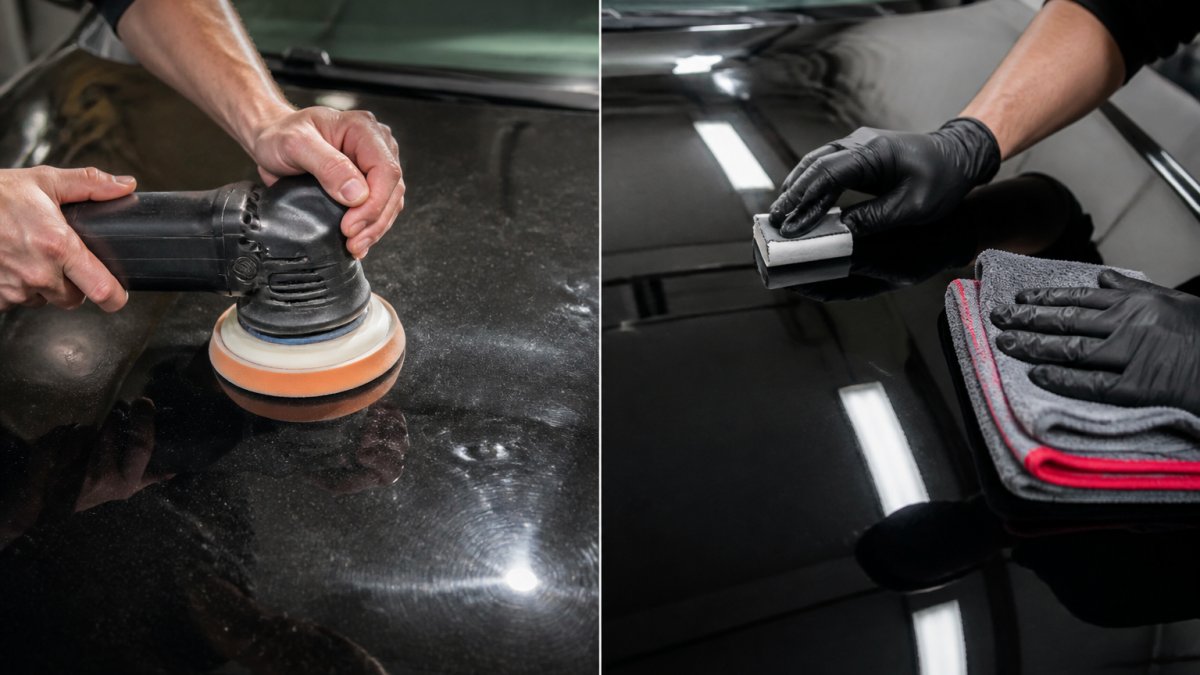
 comparison
DIY vs Professional Paint Correction: What Actually Wins
Table of Contents
- DIY vs Professional Paint Correction: The Core Differences
- Cost Comparison: DIY vs Professional Paint Correction
- Skill Level and Learning Curve
- Best Dual Action Polisher for Beginners and When to Use It
- How to Avoid Paint Burn Through During Correction
- Durability and Long-Term Results
- Which Approach Is Right for Your Vehicle
- Frequently Asked Questions
Last Updated: September 28, 2026
DIY vs Professional Paint Correction: The Core Differences
Paint correction removes surface imperfections like swirl marks, scratches, and oxidation from your vehicle's clear coat. Understanding paint correction diy vs professional comes down to equipment, expertise, and risk tolerance.
DIY work uses consumer-grade tools and your skill level. Professional shops have industrial-grade equipment, trained technicians, and years of experience reading paint thickness. A professional mistake is covered by their guarantee; a home mistake is yours to fix.
Cost Comparison: DIY vs Professional Paint Correction
A basic dual action polisher costs $100-300. Add compounds, pads, clay bars, and supplies: another $150-400. Total initial investment: $250-700.
Professional single-stage correction costs $500-1,500. Multi-stage with ceramic coating exceeds $2,000, depending on damage severity and shop pricing.
Five-Year Total Cost of Ownership
DIY correction lasts 3-6 months before swirl marks return. Repeating annually requires new compound, pads, and 8-12 hours labor per year. Over five years:
- Initial tool investment: $250-700 (one-time)
- Annual compound and pad replacement: $100-200 per year × 5 = $500-1,000
- Annual labor (8 hours at $25/hour opportunity cost): $200 per year × 5 = $1,000
- Five-year total: $1,750-2,700
Without sealant or ceramic coating, you start from scratch annually, the protection fails, not the correction.
Professional single-stage correction costs $500-1,500 and lasts 12-18 months. Repeating every 18 months:
- Year 1: $500-1,500
- Year 3: $500-1,500
- Year 5: $500-1,500
- Five-year total: $1,500-4,500
Professional multi-stage with ceramic coating costs $1,500-2,500 and lasts 24-36 months. Annual maintenance ($150-300) extends protection:
- Year 1: $1,500-2,500 (correction + ceramic)
- Years 2-5: $150-300 annual maintenance × 4 = $600-1,200
- Five-year total: $2,100-3,700
The Hidden Cost: Failure and Remediation
DIY failures are expensive: holograms ($800-1,500), high spots ($500-2,000), or burn-through ($1,500-3,500). A single failure often costs more than professional correction would have initially.
| Approach | Year 1 | Year 3 | Year 5 | Total 5-Year Cost | Cost Per Year |
|---|---|---|---|---|---|
| DIY (Basic, annual repeat) | $250-700 | $100-200 | $100-200 | $1,750-2,700 | $350-540 |
| DIY (with failure remediation) | $250-700 + $1,500-3,500 | $100-200 | $100-200 | $3,250-5,700 | $650-1,140 |
| Professional (Single-stage, 18-month repeat) | $500-1,500 | $500-1,500 | $500-1,500 | $1,500-4,500 | $300-900 |
| Professional (Multi-stage + ceramic) | $1,500-2,500 | $150-300 | $150-300 | $2,100-3,700 | $420-740 |
The Real Cost Equation
Successful DIY costs $350-540/year. One failure jumps it to $650-1,140/year. Professional multi-stage costs $420-740/year with a guarantee, failures are fixed free.
Newer vehicles (2015+) with soft clear coats favor professional work due to higher DIY failure risk. Older vehicles with hard clear coats favor DIY if you have skill.
Skill Level and Learning Curve
Learning paint correction takes time. Your technique, pressure, speed, and paint thickness knowledge determine results, not the polisher alone. First, assess whether your vehicle's paint suits DIY learning.
Assessing Your Vehicle's Paint Difficulty
Modern vehicles (2015+) have softer, chemically complex clear coats that burn through faster. Older vehicles (pre-2010) have harder, more forgiving clear coats. This affects DIY risk.
Soft clear coat vehicles (higher DIY risk): Most luxury brands, 2015+ vehicles, matte/satin finishes, waterborne base coats. Mistakes are permanent without professional repainting.
Hard clear coat vehicles (lower DIY risk): Pre-2010 domestic vehicles, 1990s-2000s Japanese vehicles, single-stage paint. Better learning platforms.
Assess clear coat hardness: Check build year and forums. Perform a fingernail test on door jamb, soft if it scratches easily. Use a paint thickness gauge ($50-150): below 1.5 mils = soft, above 2.0 mils = hard.
Soft clear coat below 1.5 mils carries significant DIY risk. Get professional assessment first.
The Learning Curve by Skill Level
Dual action polishers are more forgiving than rotary buffers, but you still need to understand compound selection, pad types, and paint response to pressure.
Beginner (0-5 practice runs): Expect uneven results, buffer trails, pressure inconsistency, and over-correction risk. Beginner work removes light swirl marks but leaves some imperfections visible.
Intermediate (10-20 practice runs): Develop muscle memory and recognize polisher feedback. Achieve 70-80% of professional results on light to moderate damage with fewer buffer trails and better control.
Advanced (50+ practice runs): Read paint thickness, recognize damage types, understand compound/pad interactions, and judge when correction is possible. Can match professional results on light to moderate damage.
Professional Technician Skill Development
Professional technicians spend months or years developing this skill through structured training and high-volume repetition. They learn to:
- Read paint depth with a gauge in seconds
- Recognize different types of damage and clear coat responses
- Adjust approach based on real-time feedback
- Understand the difference between holograms (buffer trails from improper technique) and actual paint damage
- Know when a correction is possible and when you're risking burn-through
They also have access to professional-grade equipment (rotary buffers, high-end compounds, specialized pads) that produces results faster and more reliably than consumer tools.
Decision Framework: Should You DIY?
Choose DIY if:
- Your vehicle has hard clear coat (pre-2010 domestic or Japanese vehicles, or confirmed thickness above 2.0 mils)
- You have light to moderate swirl marks or minor scratches only
- You're mechanically inclined and willing to invest 20-30 hours in learning
- You're comfortable with a 70-80% result on your first attempt
- You accept the risk of failure and the cost of professional remediation if something goes wrong
Choose professional assessment first if:
- Your vehicle has soft clear coat (2015+, luxury brands, or confirmed thickness below 1.5 mils)
- You're uncertain about your paint's condition or thickness
- You want guaranteed results on the first attempt
- You have deep scratches or severe oxidation
- You value a warranty on the work
A 30-minute professional assessment ($0-100) can tell you exactly what your paint can handle and whether DIY is realistic for your specific vehicle. This removes guesswork and can save you thousands in remediation costs if your paint isn't suitable for DIY work.
Best Dual Action Polisher for Beginners and When to Use It
A dual action polisher is the safer choice for DIY paint correction because it moves in two directions simultaneously, reducing the risk of burning through clear coat. The orbital motion makes it harder to apply too much pressure in one spot.
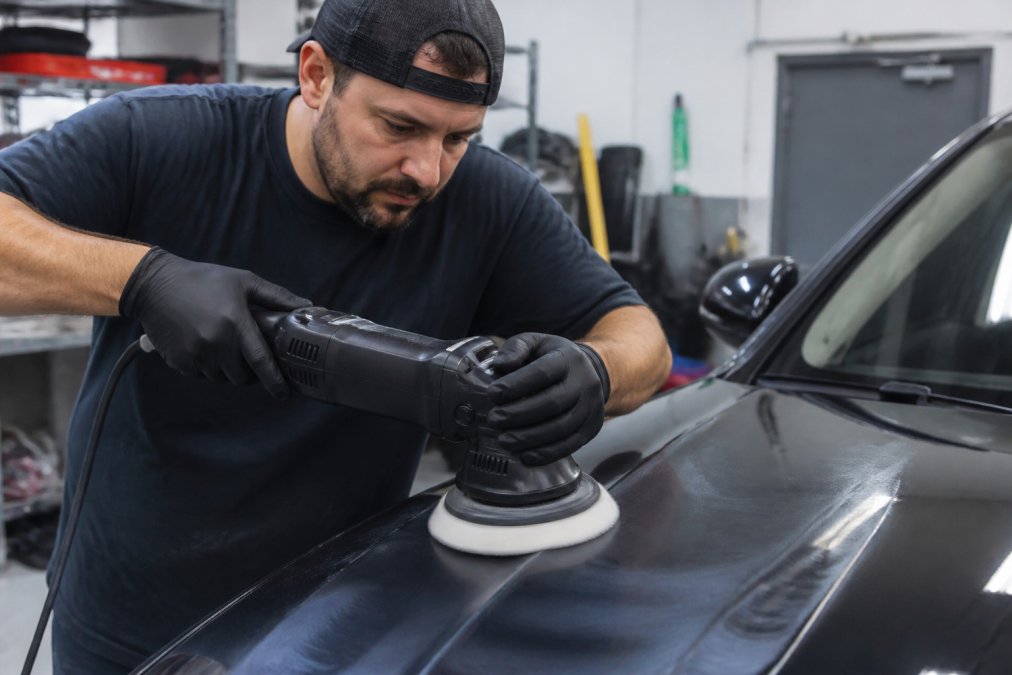
When shopping for a beginner polisher, look for models with variable speed control (typically 600-3,500 RPM), a comfortable grip, and decent weight distribution. Lighter models are easier to control, but they often lack the power to cut through heavy oxidation. You want something in the middle, enough power to work effectively, light enough to control for extended periods.
Dual action polishers work best on light to moderate paint imperfections. They excel at removing swirl marks and light scratches.
How to Avoid Paint Burn Through During Correction
Paint burn-through happens when excessive heat and friction remove too much clear coat in one spot. It's the most common DIY failure, and it's permanent without professional repair.
Practical steps to prevent burn-through:
- Use a paint thickness gauge on inconspicuous areas first. Know your baseline before you start.
- Start at low speed (1,500-2,000 RPM) and work up if needed.
- Apply light to medium pressure only. The polisher weight should do most of the work.
- Work in overlapping passes, never staying in one spot longer than 10-15 seconds.
- Take breaks every 10-15 minutes to let the paint cool.
- Work in shade or cooler conditions when possible. Heat accelerates damage.
Durability and Long-Term Results
Professional paint correction with proper sealant or ceramic coating protection typically lasts 2-3 years before needing touch-up work. The sealant or coating protects the corrected surface from new damage, which extends the life of the correction itself.
Which Approach Is Right for Your Vehicle
Your decision on paint correction diy vs professional depends on three factors: paint condition severity, your skill level and patience, and how long you want results to last.
Frequently Asked Questions
What are the main risks of DIY paint correction?
DIY paint correction carries several significant risks. Paint burn-through is the most serious, applying too much pressure or heat with a polisher can strip through the clear coat and expose the base coat. Swirl marks and holograms can result from improper pad selection or technique. Without a paint thickness gauge, you won't know how much clear coat you're removing, making it easy to compromise your vehicle's protection. Most DIYers also lack the professional-grade equipment and compounds needed for consistent results, which can lead to uneven finishes and inadequate protection against future oxidation.
How much does professional paint correction typically cost?
Professional paint correction pricing depends on several factors: the extent of surface defects, your vehicle's size, the number of panels needing work, and whether ceramic coating or other protective treatments follow. A single-panel correction costs less than full-vehicle work. For an accurate estimate tailored to your vehicle's condition, contact Rubio's Custom Repair for a consultation. Our team can assess your paint and provide a detailed quote based on the specific correction work required.
How long does professional paint correction last?
Professional paint correction itself is permanent, once swirl marks and scratches are removed and the clear coat is restored, that work doesn't degrade. However, your paint will accumulate new defects over time from environmental exposure, washing, and normal driving. Many owners extend the life of corrected paint by applying ceramic coating or paint protection film, which adds hydrophobic properties and shields against future oxidation and minor scratches. Proper maintenance and regular detailing help preserve the results for years.
Can a beginner safely use a dual action polisher for paint correction?
A dual action polisher is the safer choice for beginners compared to a rotary buffer, but it still requires practice and proper technique. Dual action polishers are more forgiving because they oscillate randomly, reducing the risk of paint burn-through if you apply too much pressure. Start on a less visible panel to develop your technique before working on high-impact areas. Always use the correct cutting compound and polishing pad for your paint type, maintain consistent speed, and keep the polisher moving, never let it sit in one spot. Consider practicing on a test panel or consulting professional guidance before tackling your vehicle's finish.